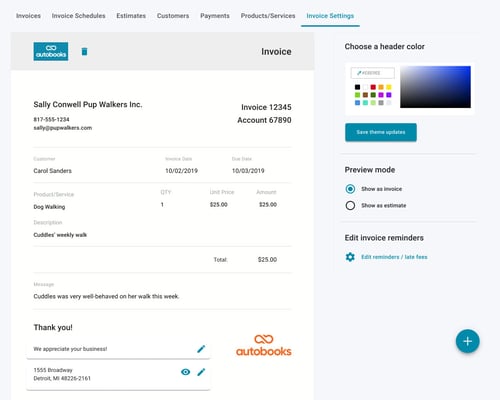
The invoices you send to customers using Autobooks can be customized. Add your specific contact information, company logo, and more.
To customize your invoice template, select the Invoice Settings tab.
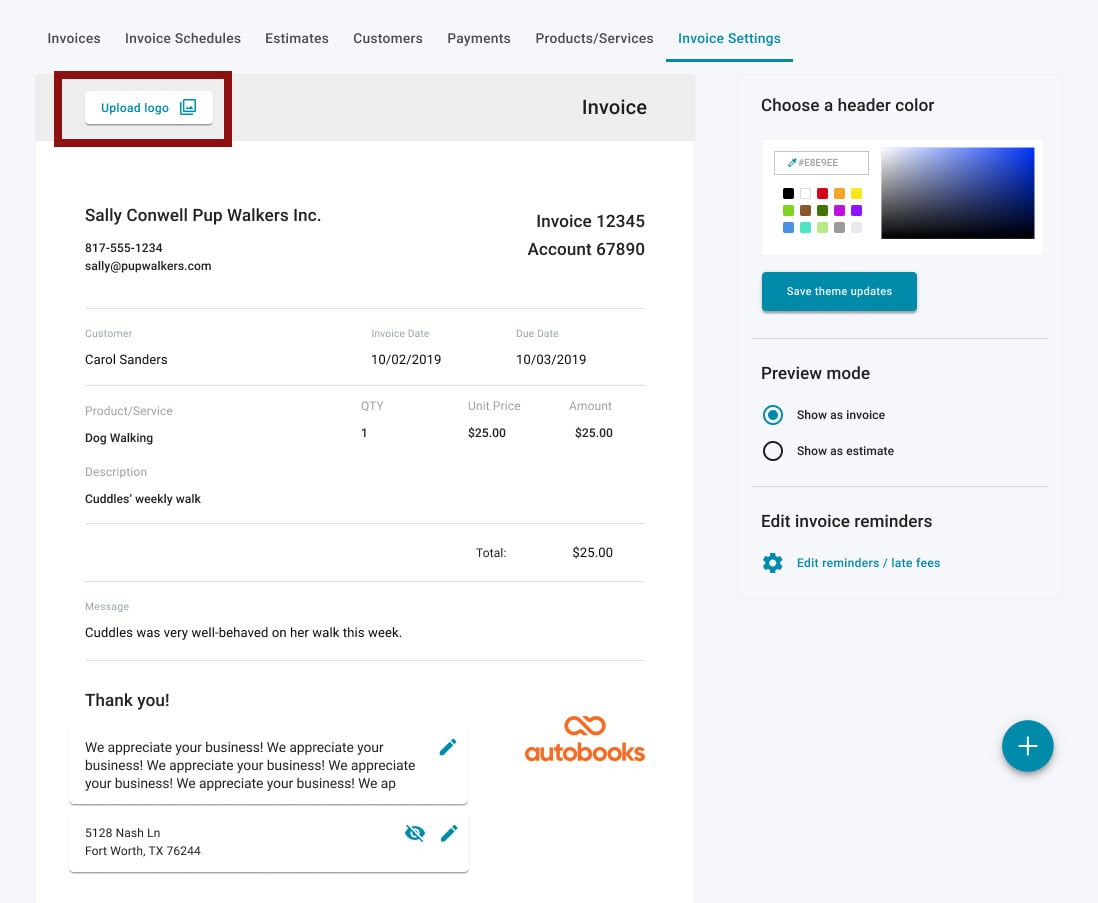
Upload a logo
Select the Upload logo button to add your company's logo to the top of your invoices.
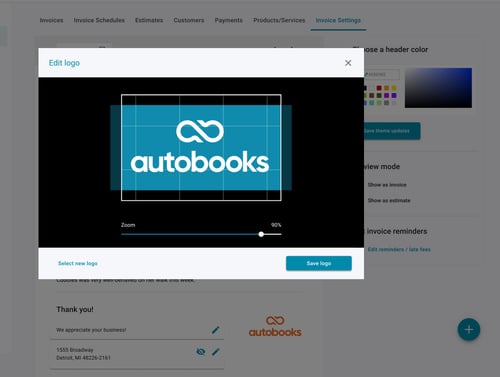
After selecting the logo image file from your computer, the Edit logo page will allow you to adjust the size of the logo to fit.
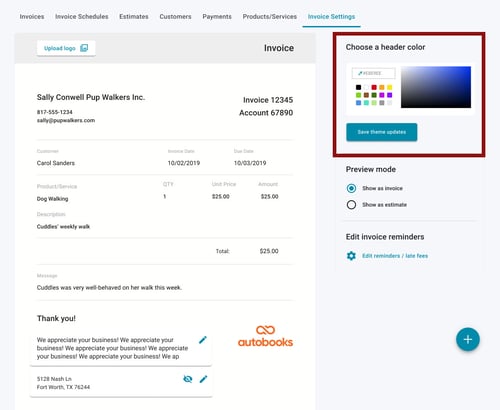
Header Color
The Choose a header color section allows you to choose a color for the banner across the top of the invoice.
You can enter a specific six-digit hex value, choose from one of the default colors, or click and drag within the color window to choose the desired shade.
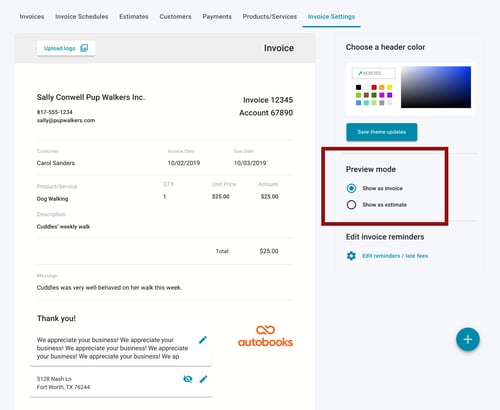
Preview mode
You can preview your changes before committing to them. Select either Show as invoice or Show as estimate in the Preview Mode area to see what your customer will see.
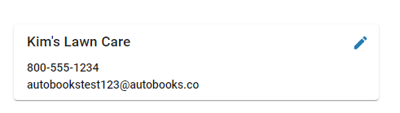
Contact information
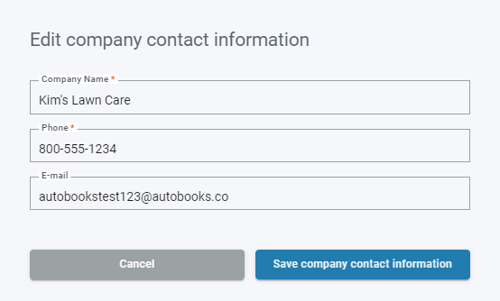
The contact information displayed at the top of the invoice can be changed by clicking the pencil icon to the right.
Click Save company contact information to apply the changes.
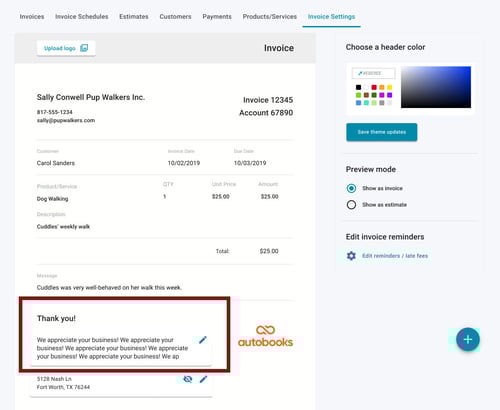
Footer message
If you would like to include any additional messaging or information, a footer can be included just below the Thank you! message. Select the pencil icon to add a message of up to 150 characters that will display at the bottom of every invoice.
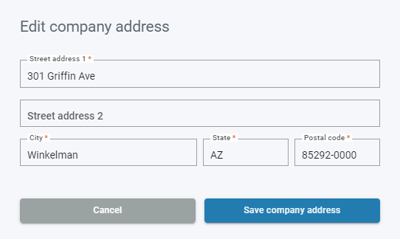
Business address
By default, the address on file for the business will be displayed at the very bottom of the invoice. This address can be hidden completely or changed to suit your needs.
Select the eyeball icon to the right of the address to hide this field from displaying on your invoice.
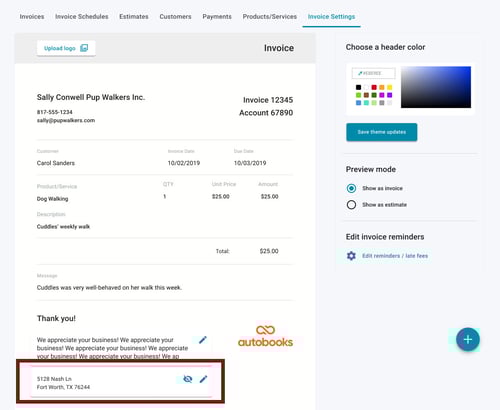
To change this address, select the pencil icon to the right of the address. Update the information, then select Save company address.